
Introduction to Home Security Camera System
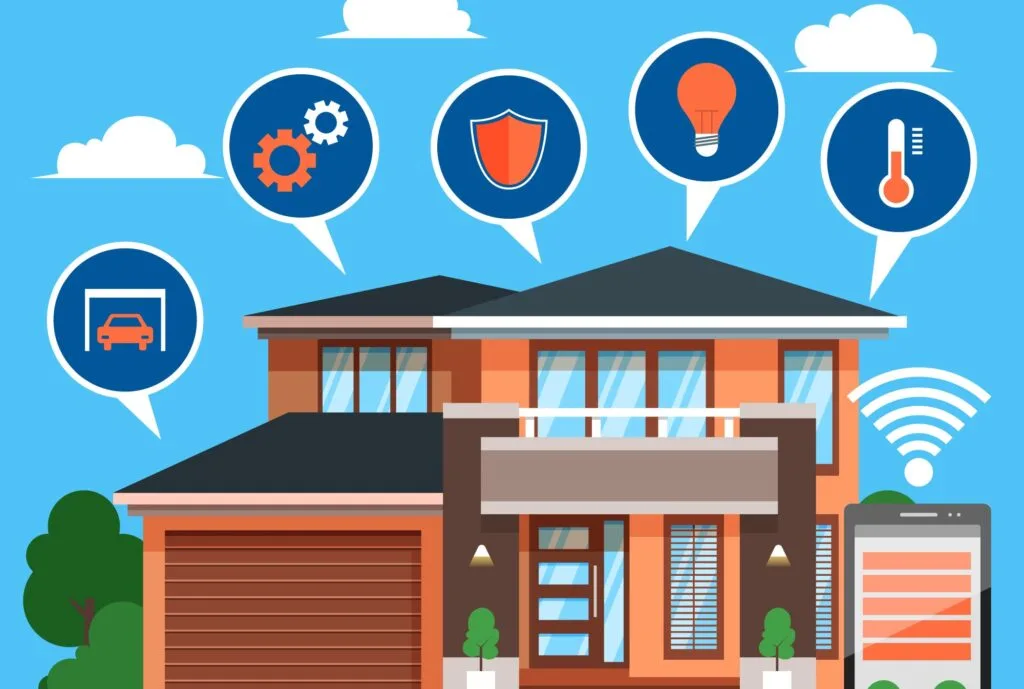
In today’s digital age, securing your home goes beyond just locking doors and windows. A robust home security camera system acts as your eyes and ears, providing peace of mind whether you’re at home or away. This guide offers a detailed walkthrough on how to select, install, and maintain a security camera system tailored to your needs, ensuring you make an informed decision and get the most out of your investment.
Security cameras have evolved significantly from their bulky predecessors, incorporating advanced features such as high-definition video quality, motion detection, night vision, and remote monitoring capabilities. Choosing the right system depends on several factors, including the layout of your home, the areas you wish to monitor, and the level of surveillance required. Whether you’re looking to deter burglars, monitor a baby’s room, or simply keep tabs on your pets, the right camera setup can make all the difference. Let’s dive into the essential tools and materials you’ll need to begin installation.
Table of Contents
Essential Tools and Materials Needed for Installation
Before you begin the installation of your home security camera system, it’s crucial to gather all necessary tools and materials to ensure a smooth setup process. Here’s a list of essentials that will help you get started:
- Security Cameras and Mounting Brackets: Choose cameras based on your specific security needs—whether indoor, outdoor, wired, or wireless.
- Drill and Drill Bits: Needed for mounting cameras on walls. Ensure you have the right size bits for the screws that come with the camera mounts.
- Screwdriver Set: A variety of screwdrivers may be required, depending on the camera model and mounting design.
- Wireless Router (for wireless systems): Ensures your wireless cameras can connect to the internet for remote monitoring.
- Ethernet Cables (for wired systems): High-quality cables are crucial for ensuring a stable connection between cameras and your network video recorder (NVR) or digital video recorder (DVR).
- Power Adapter or PoE Injector: Depending on whether your cameras are powered by traditional AC power sources or through Ethernet (PoE).
- Ladder: For reaching high installation points safely.
- Tape Measure: Helps in precise placement and spacing of cameras.
- Level Tool: Ensures your cameras are perfectly horizontal.
- Marker or Pencil: Useful for marking drill points on walls.
- Smartphone or Monitor: For viewing camera angles and coverage areas during setup.
- Cable Clips or Conduit: To manage and protect wires, especially for outdoor installations.
By preparing these tools and materials in advance, you can streamline the installation process and avoid any mid-project runs to the hardware store.
Choosing the Optimal Locations for Cameras
Selecting the right locations for your home security cameras is pivotal to achieving effective surveillance coverage. Placement can affect everything from camera longevity to the quality of the footage captured. Here’s how to strategically place your cameras for optimal security:
- Front and Back Doors: Most burglars enter homes through the front or back doors. Position cameras above these doors so they are just out of reach but still provide a clear view of anyone approaching.
- Windows Accessible from Ground Level: These windows are common entry points for intruders. Install cameras facing these windows, ensuring you can see any activity without obstruction from outdoor elements.
- Driveways and Garages: These areas often house valuable items and serve as another entry point to your home. A camera here can help monitor both vehicular and pedestrian traffic.
- Yard and Perimeter: Covering the perimeter of your property can help you detect intruders before they even reach your home. Consider the camera’s range and field of view to ensure comprehensive coverage.
- Common Areas Inside the Home: Living rooms, kitchens, and hallways are high traffic areas. Cameras here help monitor household activity, including babysitters, cleaners, and other visitors.
- Secluded Outdoor Areas: These include backyards, side exits, and similarly isolated areas. Cameras here deter intruders who may target less visible entry points.
Installation Tips for Optimal Coverage:
- Height: Mount cameras at least 8-10 feet high to reduce tampering risks and capture a wider field of view.
- Angle and Orientation: Adjust the camera’s angle to avoid backlight from windows and ensure no blind spots are present.
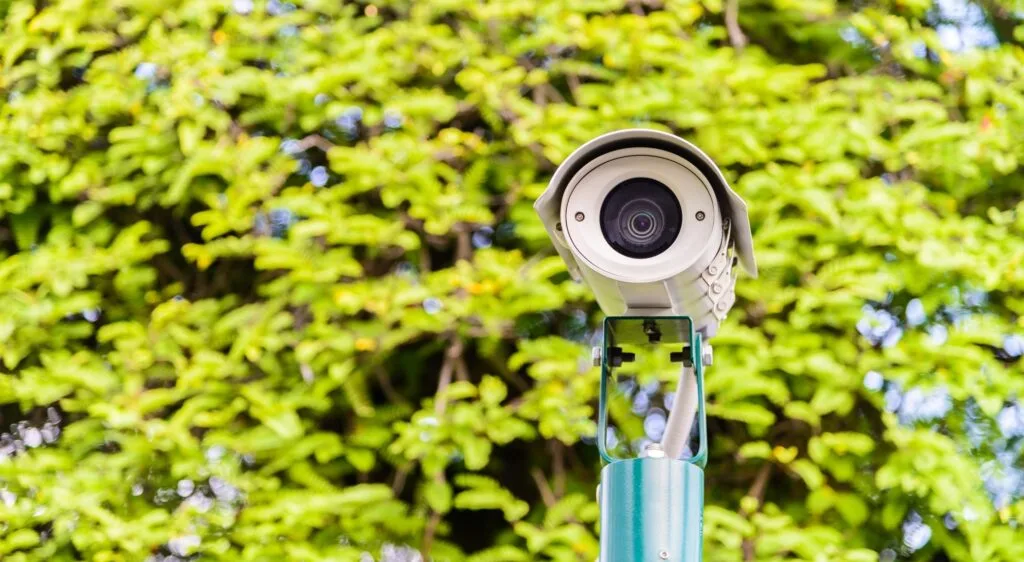
- Protection from Elements: Ensure outdoor cameras are weatherproof and have sunshades to prevent glare and damage from direct sunlight.
Step-by-Step Installation Process
Installing your home security camera system can be straightforward if you follow these methodical steps. Whether you’re setting up a wired or wireless system, the principles are similar, but there are unique considerations for each type.
Mounting the Cameras
- Identify Installation Points: Using your earlier assessment of optimal locations, mark the exact spots where each camera will be mounted.
- Drill Holes: Use a drill to make holes for the mounting screws. Be sure to wear safety goggles to protect your eyes from debris.
- Secure the Mounting Bracket: Attach the camera’s mounting bracket to the wall using the screws provided. Ensure it’s firmly in place to support the camera’s weight.
- Attach the Camera: Once the bracket is secure, attach the camera to the bracket and adjust it to the desired angle. Use a level tool to ensure it’s perfectly horizontal.
Setting Up the Recording Equipment
- Place Your DVR/NVR: This should be in a secure, centralized location in your home to manage cable lengths and ensure easy access for maintenance.
- Connect Cameras to the DVR/NVR: For wired systems, run the necessary cables from each camera back to the DVR/NVR. For wireless systems, ensure each camera is connected to your home’s Wi-Fi network.
- Provide Power: Connect each camera to the power source, whether through a direct power adapter or via a PoE injector.
Connecting to Power
- Wired Cameras: Ensure each camera’s power cable is securely plugged into a nearby outlet or a power distribution box.
- Wireless Cameras: Although termed wireless regarding data transmission, most wireless cameras still require power cables unless they are battery-operated.
Configuring Your Camera System for Remote Access
Once all physical connections are checked and secure, the next step is to configure your camera system for remote viewing:
- Install Software/Apps: Install the necessary software on your computer or apps on your mobile devices provided by the camera manufacturer.
- Connect to the Network: Follow the manufacturer’s instructions to connect your DVR/NVR to your home network. This typically involves connecting it to your router via an Ethernet cable.
- Configure Remote Access Settings: In the DVR/NVR settings, set up remote access. This might include setting up a Dynamic DNS service if your home IP address is not static.
- Test Remote Viewing: Using the app or software, attempt to view live feeds from your cameras remotely to ensure everything is working correctly.
Testing and Troubleshooting Common Issues
After installation, thoroughly test the system to identify and resolve any potential issues:
- Check Camera Feeds: Verify that all cameras are providing clear and stable video feeds.
- Test Motion Detection: If your cameras have motion detection, test different sensitivity settings to ensure it triggers correctly without too many false alarms.
- Ensure Remote Access: Double-check that you can access the camera feeds from outside your home network.
- Review Night Vision: Test the cameras in low light conditions to ensure the night vision is functioning correctly.
By following these detailed steps, you can effectively install a home security camera system that provides comprehensive coverage and peace of mind. This setup will not only deter potential intruders but also provide valuable documentation of any suspicious activities.
Maintaining Your Home Security Camera System
Regular maintenance is crucial to ensuring that your home security camera system remains effective over time. Here are key practices to keep your system in optimal condition:
- Regularly Check Camera Lenses: Clean the lenses gently with a soft, dry cloth to remove dust and smudges, which can degrade image quality. Be careful not to scratch the lens surface.
- Inspect All Cables and Connections: For wired systems, periodically check all cable connections for any signs of wear or damage, especially if they are exposed to the elements. Replace any frayed or damaged cables to prevent system failures.
- Update Software and Firmware: Manufacturers often release software updates that improve system functionality and security. Regularly check for updates for your cameras, DVR, or NVR, and apply them promptly.
- Adjust Camera Angles and Positions: As seasons change, so might the lighting and environmental conditions around your home. Periodically adjust the cameras to ensure they still cover the intended areas effectively.
- Test Motion Detectors and Alerts: Run regular tests to ensure that motion detectors trigger correctly and that you receive timely alerts on your connected devices.
- Review Recorded Footage: Regularly review the footage to ensure that the system is recording as expected and that there are no blind spots or coverage gaps.
- Secure the System Against Hackers: Change your system’s default usernames and passwords. Enable two-factor authentication (if available) and use secure, complex passwords to enhance the security of your networked security devices.
- Check for Environmental Damage: Outdoor cameras are particularly vulnerable to weather-related damage. Check for corrosion, water ingress, or insect infestation, all of which can impair camera functionality.
- Power System Check: Ensure that all components are receiving adequate power and that backup power systems (like UPS for DVRs/NVRs) are functional, especially in areas prone to power outages.
- Consult with Security Experts: If you’re unsure about your system’s performance or need improvements, consulting with a security expert can provide professional insights and recommendations.
By adhering to these maintenance tips, you can prolong the life of your security system and ensure it continues to provide reliable service.
Legal Considerations and Privacy Concerns
When installing a home security camera system, it’s important to consider the legal and privacy implications to avoid potential legal issues:
- Compliance with Local Laws: Check local laws regarding surveillance, especially recording audio or video that captures public areas or other people’s properties.
- Notice to Visitors: In some jurisdictions, you may be required to inform visitors that they are under surveillance (this can be achieved with signs).
- Recording Consent: Be aware of laws around consent to record audio, as these can be more stringent than for video.
- Data Storage and Protection: If you capture video or audio, ensure it is stored securely to protect privacy and prevent unauthorized access.
By respecting privacy and adhering to legal standards, you can use your home security camera system responsibly and effectively.
Advanced Tips and Tricks
To maximize the effectiveness of your home security camera system, consider the following advanced tips:
- Integration with Smart Home Systems: Connect your camera system with other smart home devices, such as door locks and lights, for enhanced automation and control.
- Use of AI and Analytics: Some advanced systems come with AI capabilities that can differentiate between human movements and irrelevant motions, reducing false alarms and enhancing security monitoring.
- Geo-Fencing: Set up your system to send alerts or start recording based on the location of your family’s smartphones, providing you notifications when members come and go.
- Scheduled Monitoring: Configure cameras to increase monitoring during high-risk times or when you’re away, ensuring that your home is closely watched when it’s most vulnerable.
These advanced configurations can provide more precise, automated, and integrated security solutions, adapting to your lifestyle and enhancing your home’s safety.
Conclusion: Enhancing Home Safety
Installing a home security camera system is a proactive step towards protecting your property and loved ones. With the right setup, maintenance, and adherence to legal guidelines, you can enjoy peace of mind knowing your home is monitored and secure. Whether you’re upgrading an existing system or installing a new one, the insights provided in this guide will help you navigate the process with confidence and ease.